Eight Tips for Better Photos
By josterman on 6/1/2015
Article and photographs by Randy Murrow
Everyone’s a photographer these days, and even the simplest cameras now contain technology far more advanced than expensive cameras of yesteryear. But are photographs getting better? Are your photographs getting better? If you’re slightly disappointed that your new camera hasn’t landed you that dream job shooting for National Geographic, it might be time to focus on the technology behind the camera. That’s you! Here are eight tips to get you started:
1. Get closer.
Robert Capa wisely said, "If your photos aren't good enough, then you're not close enough." Skip the zoom and use your feet to fill the frame with your subject.

Close positioning and careful framing make for a unique vacation photo of Ipanema Beach in Rio de Janeiro, photographed from the rocks of Arpoador.
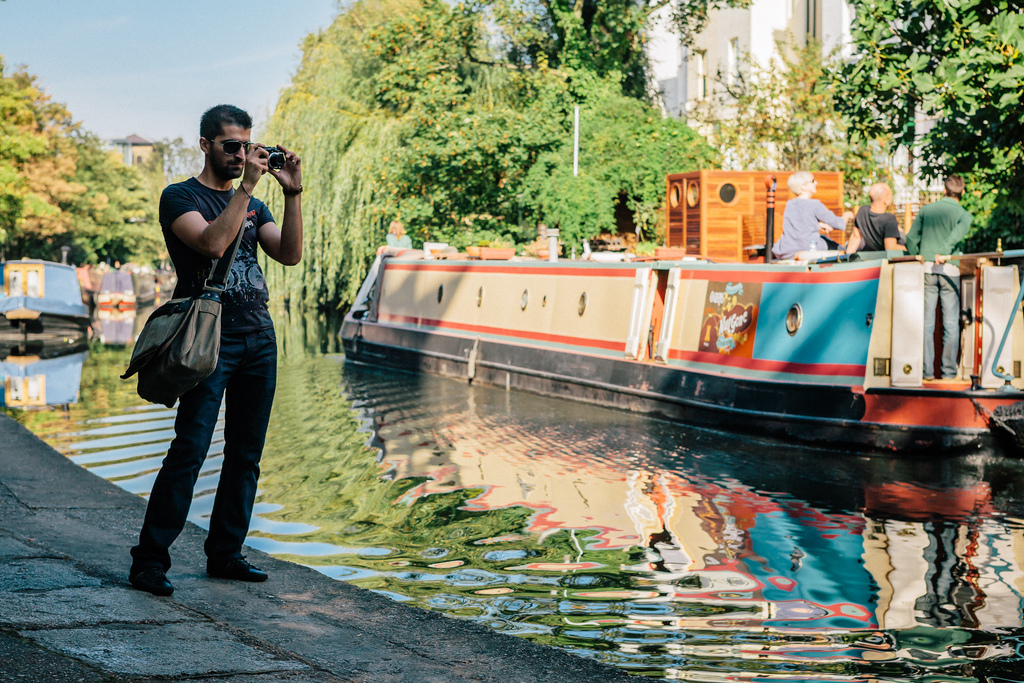
2. Eyeball the background.
Lots of otherwise fine portraits suffer from distracting objects competing for attention in the frame. If you can, move yourself or your subject to simplify the background.
3. Consider other perspectives.
Would your subject or background look better from above? How about from ground level? Try changing your shooting level when taking portraits. Shoot at eye, chin, chest, and knee level and note the changes in the look and character of the portrait. Likewise, shoot a few levels above eye level. It’s easy to make your subject appear taller or shorter, bold or submissive.

I framed this bride and groom in Kolkata, India by positioning my camera above my head and shooting through the decorations dangling from the canopy above the ceremonial dais.
4. Check your verticals.
Do your photos always look a bit unsteady? Take a moment before pressing the shutter button to check the vertical lines in your frame. Are they parallel to the edges? Use the frame edges to line everything up, or turn on the grid pattern if your camera offers this feature. Likewise, tilt your camera up or down to intentionally distort the verticals for effect. Shooting close to your subject with a wide angle lens will amplify the effect.

The arches and steps here provide a natural reference for leveling your camera. No grid needed!

Tilting the camera up (and rotating a bit) emphasizes the graceful lines of the building facade on the left, forces the boxy lines of the office building next door to bend inward, and elmiminates distracting details below the frame that would mar the composition.
5. Compose your picture.
Certain subjects work well when placed directly in the center of the frame, but most photographs benefit from a bit of careful composition. If your camera comes with a grid that splits the screen into vertical and horizontal thirds, try placing your subject on one of the grid points. If you’re shooting a portrait, make sure the eyes are on or near that top grid line. No grid? Just imagine it’s there and compose accordingly!

6. Turn off your auto flash.
Most cameras these days can take perfectly fine photos in low light, but that pesky auto flash too often thinks it needs to help. Turn that thing off and see what your camera can do! Sometimes you really need flash, but you’ll be a better photographer when you start making those decisions for yourself.

Don't let anyone tell you that "off-camera flash" is always better light. This isn't auto flash but a strobe deliberately placed on the camera and pointed directly ahead to create a confrontational look. I chose the backdrop for its color (yellow against blue) and the reflective nature of the surface.
7. Find better light.
Before you turn on that harsh on-camera flash, look around for better options. Are you close to a window? A light fixture? Challenge yourself to shoot portraits at night without a flash. You’ll be surprised how many different sources you can use to light up those faces. If your subject has a smartphone, put it to use! A flashlight app or glowing screen (crank up that brightness!) can make a great off-camera light source.

In this London pub, a classic leather couch next to a big window provides a great setting. The subject has his face slightly turned toward the light source, creating the classic triangle of light on his opposite cheek, aka "Rembrandt light."
8. Shoot more.
Malcolm Gladwell contends it takes 10,000 hours of practice to master a field. Better get started! You’ll learn significantly faster when you spend lots of time practicing your craft. So log out of that photographer’s forum, power down the computer and grab your camera.
Want to learn more? Bridges Academy offers individual instruction in photography, including subjects like manual exposure, composition, flash and studio photography, portraiture and post-production software.